customers/activate_account 模板渲染客户账户激活页面,该页面包含激活客户账户的表单。
提示
请参考 customers/activate_account 模板及其在 Dawn 中的主要分区,以了解实施示例。
位置
customers/activate_account 模板位于主题的templates > customers 目录中:
└── theme
    ├── layout
    ├── templates
    |   └── customers
    |     ├── activate_account.json
    |     ...
    ...
内容
您应在 customers/activate_account 模板或模板中的一个分区包含客户账户激活表单。
提示
如果您使用的是 JSON 模板,那么任何 HTML 或 Liquid 代码都需要包含在模板引用的分区中。
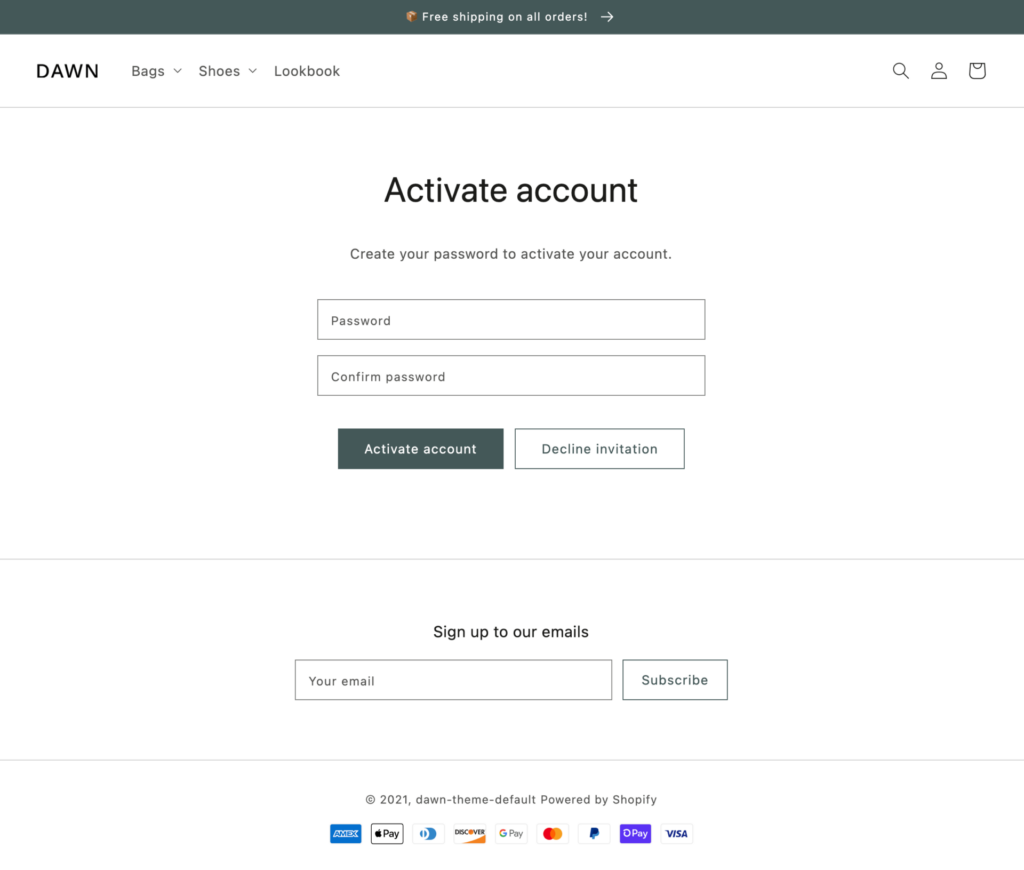
客户账户激活表单
客户账户激活表单可使用 Liquid form tag 和随附的 “activate_customer_password “参数添加。在表单标签块中,您需要包含以下内容:
| Input | 类型 | name |
| Password | password | customer[password] |
| Password confirmation | password | customer[password_confirmation] |
例如
{% form 'activate_customer_password' %}
  {{ form.errors | default_errors }}

  <div class="password">
    <label for="password">Password</label>
    <input type="password" name="customer[password]">
  </div>

  <div class="password_confirm">
    <label for="password_confirmation">Password Confirmation</label>
    <input type="password" name="customer[password_confirmation]">
  </div>

  <div class="submit">
    <input type="submit" value="Activate account">
    <span>or</span>
    <input type="submit" name="decline" value="Decline invitation">
  </div>
{% endform %}
应用
在使用 customers/activate_account 模板时,应熟悉预览模板。
预览模板
要预览 customers/activate_account 模板,请执行以下步骤:
- 从您的 Shopify 管理员,在客户页面使用您自己的电子邮件添加一个假客户。
- 点击页面右上方新创建客户的…按钮,然后点击发送账户邀请。
- 查看收件箱中的客户账户邀请邮件。
- 点击电子邮件中的链接。这将带您进入客户账户激活页面。
发表回复